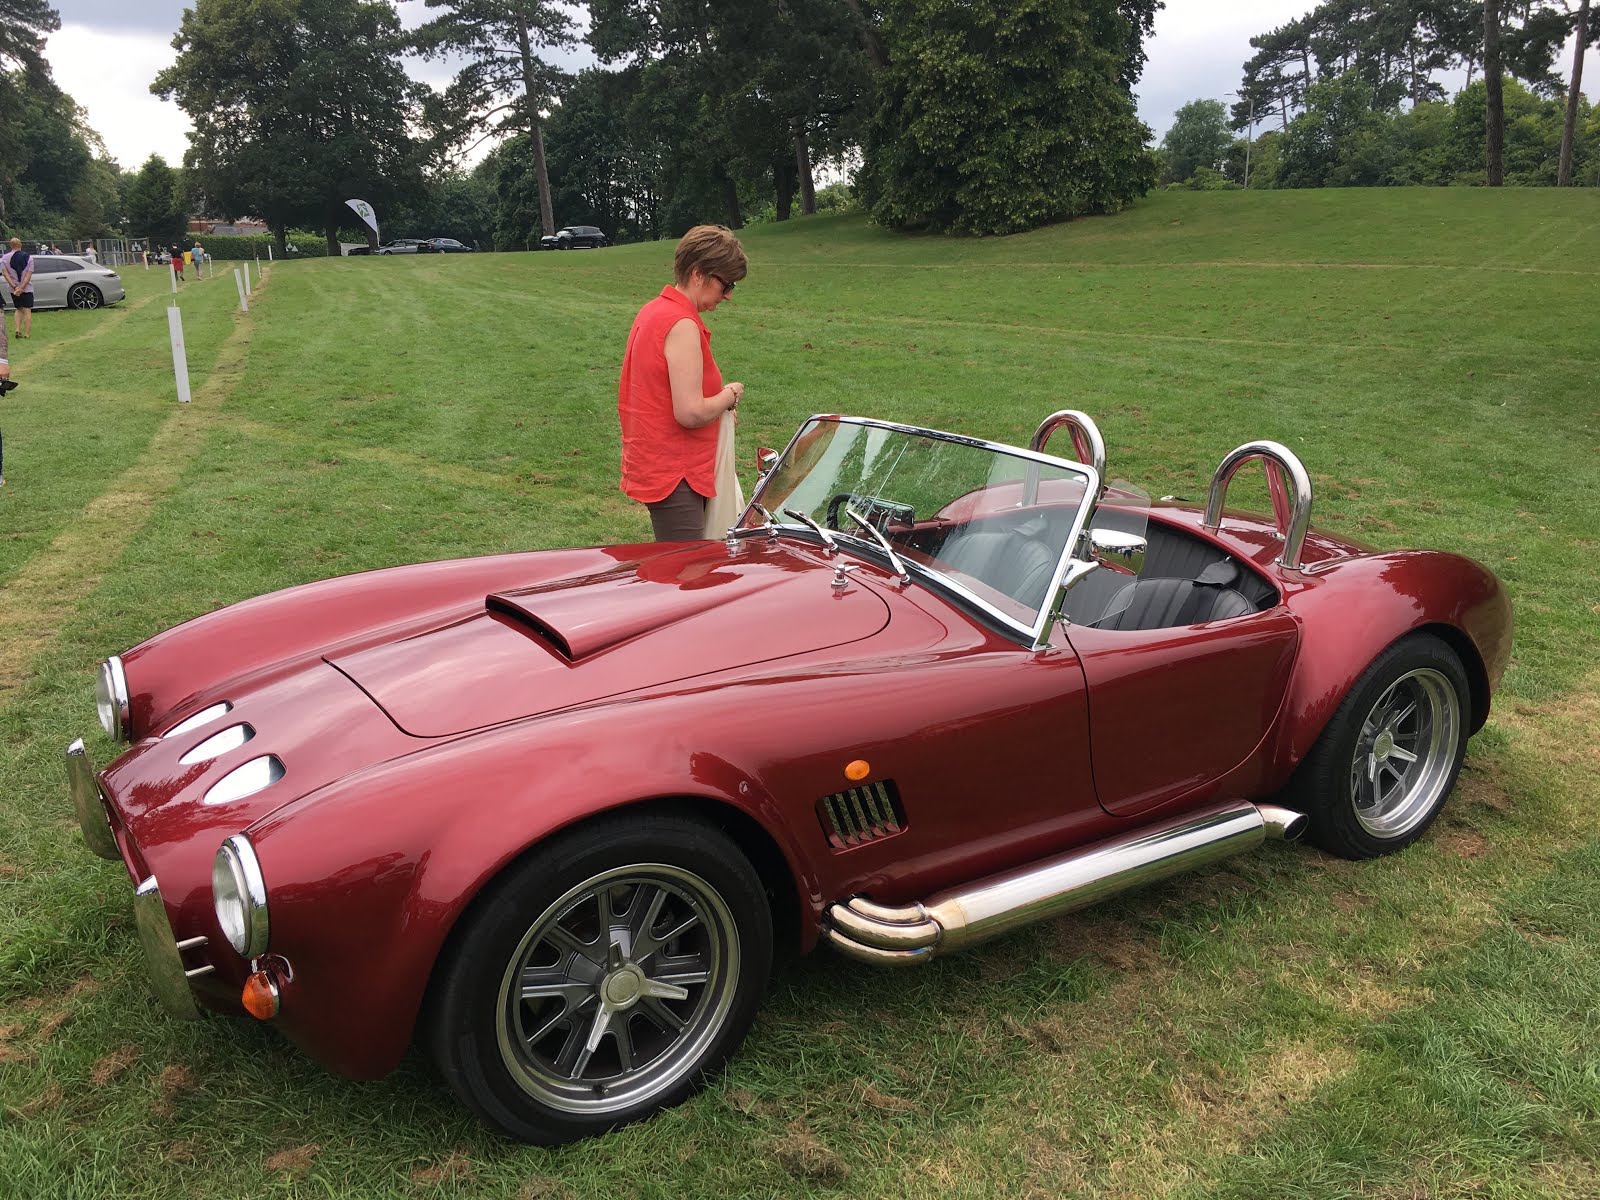
Bonnet and boot fitting
Started with the boot as it looked easier. Fitted the U channel seal I bought from Woolies and offered up the boot lid. The idea is to ensure that the panel is flush on all sides an the gap is even all round. I might have been lucky as it was a pretty good fit straight away. A small amount of sanding was needed on the flange that the U channel seal sits on the lower the boot lid in one corner.
Fitting the hinges just requires marking a centre line then even spacing 9" either side. I used the traditional external hinges - some builders are fitting internal hinges - but that just seems like lots of work for little return.Note that the external hinges are handed.
The boot lock took a lot longer to fit and still needs some work. I fitted the locking hoop to the boot floor but what a faf fitting the nuts underneath - just no room to work in. The hoop has to be fitted as close to the boot lip as possible.
The next step is to cut a recess in the back of the lid to take the catch. the idea is this is supposed to fit inside the recess. Problem I have is that when fitted inside, the claw was hitting the edge of the hook - in other words its too close of the edge of boot. At first I thought it may be the boot lid being too too proud - but no. So for now its fitted as above.
Fitting the bonnet needed a bit of patience to level off the panel by judicious sanding of the U channel flange. Then discovered that the only practical way of fitting the hinge bolts is to remove the headlights to get access.......
Next up to fit the gas struts. These come highly pressurised and immovable so you have to release some gas using a small allen screw until the right level of pressure is achieved. The front struts need more pressure than the rear so best advice is to do bonnet first - so if you release too much gas they will still work on the boot. - Well that was my plan, however the first one I tried - the grub screw was really stiff then wouldn't close so let all the gas out! Fortunately the other 3 were fine so now have to look at getting the faulty one replaced.
For the bonnet. its a case of fitting the triangular lower brackets to the inner wing, approximately 1" rearwards of the suspension cross member. Then measure from the bracket 11" along the wing and transferring this mark to the bonnet to fit the bonnet bracket. I fitted these with self tappers. To get the pressure right, with both struts fitted I just opened each release valve in turn for 1 second burst until I could manually compress the struts. Then fit them to the brackets and adjust the gas pressure until the right action is achieved.
The boot struts are a similar process except that the lower brackets are stainless steel plates that need to be bent to follow the inside wing profile then glued in place using P38 or similar. For both the bonnet and boot, I fitted a stainless steel flush set screw through the rain channel as an extra brace.
 |
| Inside boot - bracket fixed with P38 |
 |
| Flush screw through rain channel |


